We are continuing our mission of making transit the first choice for all by creating a powerful section of Traveler called “Inform.”
Inform gives transit administrators the ability to communicate directly with the riders, based on a rider’s route and stop preferences. The first feature of Inform is “Alerts.” Now agencies can proactively alert the specific passengers that are affected by service disruptions through the Rider apps. Here are the highlights:
Create service alerts
First, it’s important to answer the question, “what is an alert?!” Agencies that use TransLoc are familiar with announcements and alerts are different, and amazing. An alert is for events that critically affect how riders are able to use transit. A service alert is time sensitive, affects specific services (routes/stops), and alters riders’ ability to use transit normally. In Alerts you are able to link alerts to the exact routes & stops that are affected. This is the key to targeting just the right riders.
Proactively notify specific riders
A frustration many agencies have shared with us how difficult it is to communicate with the riders. One customer has gone as far as to create separate email lists for every route and stop in their system…very painful.
Here’s where the magic happens. Our data scientist, Elaine, and software engineer, Stu, created an incredible algorithm that distills millions of our app analytic records into specific route and stop preferences for each mobile device that has the Rider app.
This means that your passengers don’t have to go through a manual sign-up process to let you know what they care about. Traveler uses data intelligently to automatically pair each rider with the correct route & stop preferences. You, and your riders, are going to love this!
Alert riders in the context of their trip
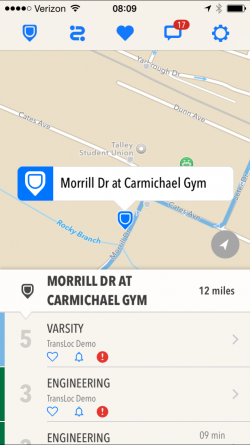
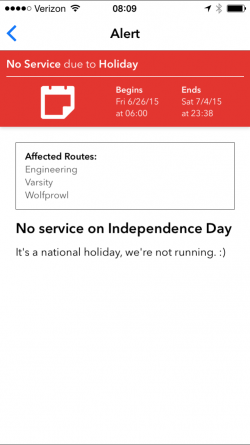
In the case that someone is new to your system and the Rider app, they’re covered too. On the main view of the Rider app any route or stop that has an active alert will display an alert badge that your riders can click on to get more details.
This is just the start. We have some

 more ideas of where to take these features, but I want to hear yours.
You’ll notice some pretty sweet interface improvements as well. We hope you enjoy them!
———
How to create an alert
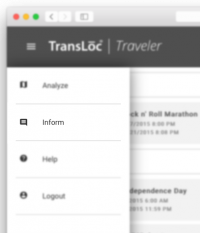
- To access the new feature, first click on the new “Inform” tab of Traveler interface, accessible from the new hamburger menu.
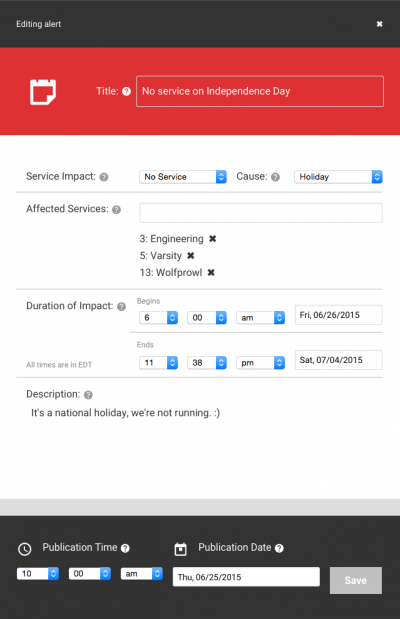
- Now you are automatically in the Alerts section and are presented with an interface for viewing active, upcoming, and archived alerts. Clicking on the small plus or the “Create new alert” button kicks off the process of creating a new alert.
- Add a title for your alert. This is just a short, public-facing description of the alert.
- Next you enter how the alert will impact riders and why. We created & validated a standard list of causes and effects that cover 99% of the alerts most agencies face.
Here’s the list of how alerts impact riders:
- no service
- reduced service
- significant delays
- detour
- additional service
- modified service
- moved stops
They are caused by a variety of issues including weather, events, holidays, maintenance, construction, accidents, technical problems, service changes, or other causes.
If you forget to add a title, the alert creation dialog automatically generates an a title from the service impact and cause.
- Next you select services affected by the service change. Start typing any route or stop and click to select it.
- The duration of impact is critical because the alert will display as active in the app during this time frame. Once the duration ends, the alert will automatically be archived.
- The description area is for any other information that could be relevant to your riders about the alert.
- All alerts default to publish at the current date and time. You can change this to anytime prior to when the alert begins. At the time of publication some important things happen. (1) A push notification is sent to the affected riders immediately. (2) The alert is visible in the desktop map, LiveDisplay map, and mobile web via the announcements area. One thing to note, the alerts badge will not display on the main map page until the start time/date of the alert. That’s it!
